Protect Your Emails with Think Data Backup
Think Data Backup is your ultimate solution for safeguarding your email communications. Email Data Backup services—whether you’re looking for a secure Personal or robust Business Email options, our state-of-the-art platform has you covered.
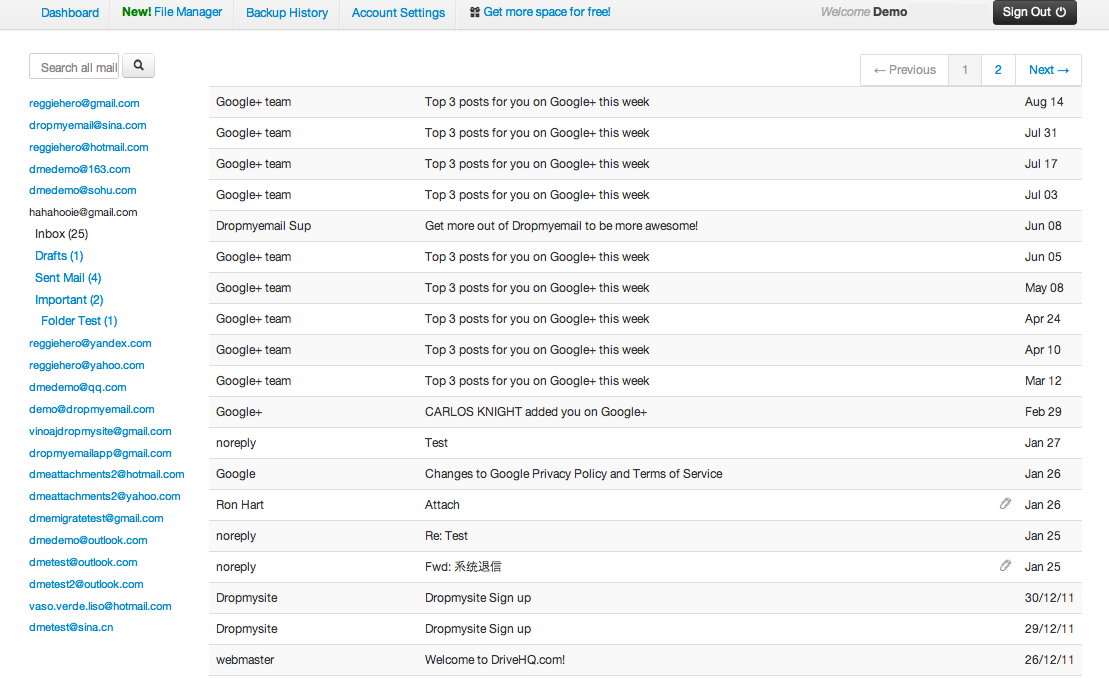
Our advanced email cloud backup technology allows you to store your emails securely on highly encrypted cloud servers, preventing data loss due to accidental deletions, system failures, or cyber threats. Unlike traditional backup methods, our cloud-based solution ensures that your emails remain accessible from anywhere, giving you complete control over your data without the risk of hardware failures. With our email data backup software, you can automate the backup process, ensuring that all your emails, attachments, and crucial information are consistently stored without any manual effort.
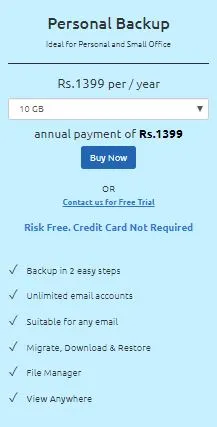
We understand that different users have different needs, which is why we offer customized Email Data Backup Plans to cater to both individuals and businesses. Whether you are an individual looking to protect personal emails or a company that needs to comply with data retention policies, our flexible plans ensure that your emails remain securely archived and easily retrievable. Our business email data backup services provide organizations with an added layer of security, ensuring that all business communications remain intact even in the event of accidental deletion, cyberattacks, or data migration.
With Think Data Backup, you never have to worry about losing critical emails again. Our seamless and efficient backup solutions give you the confidence to focus on what truly matters—whether it’s running your business or preserving valuable personal memories. Experience the most reliable and advanced Email retention and recovery solutions today and ensure your emails are always protected.


